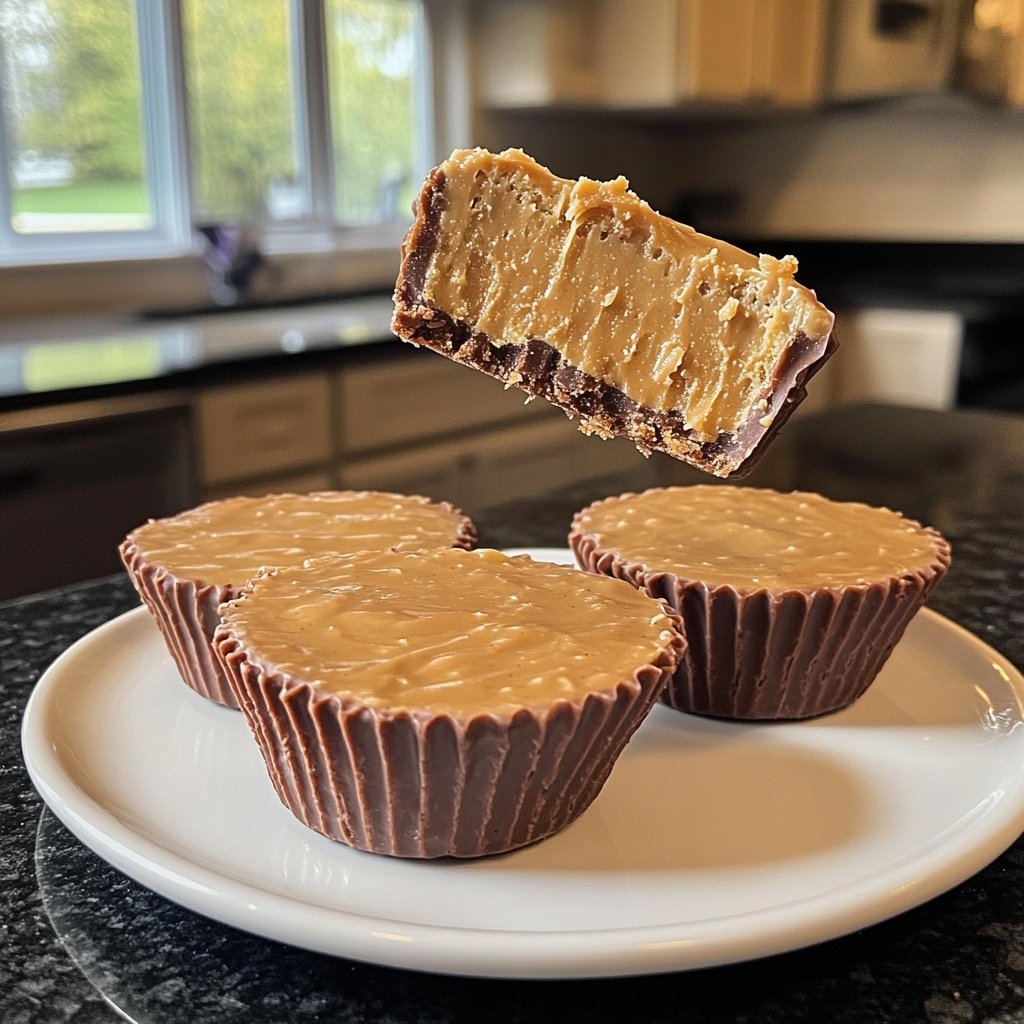
Homemade Peanut Butter Cups with Maple Filling
Highlighted under: Easy Desserts Collection
When I decided to create these Homemade Peanut Butter Cups with Maple Filling, I was eager to indulge in a sweet treat that combines my love for chocolate and the smooth, nutty taste of peanut butter. The addition of maple syrup not only sweetens the filling but also adds a wonderful depth of flavor that complements the richness of the chocolate. I was thrilled with how easy it was to make these tasty cups at home, and they have quickly become a staple treat in my kitchen, perfect for satisfying that sweet craving.
Creating these homemade peanut butter cups was an adventure in itself. I started with a classic chocolate recipe, melting high-quality chocolate for the perfect shell. Using maple syrup in the filling was a game-changer for me, as it elevated the flavor profile, making the cups taste more indulgent than traditional recipes.
I also learned that letting the cups cool completely before popping them out of the molds ensures a smooth release, resulting in perfectly shaped treats every time. This little tip can make all the difference in achieving that professional look!
Why You'll Love These Cups
- Rich chocolate flavor paired with maple sweetness
- Creamy peanut butter filling that satisfies your cravings
- Easy to make and customizable with different add-ins
The Role of Chocolate
Choosing the right chocolate for your cups is crucial for both flavor and texture. Dark chocolate offers a nice balance of bitterness that beautifully contrasts with the sweet maple peanut butter filling. If you prefer a sweeter option, semi-sweet chocolate is an excellent alternative, although it may make the overall sweetness of the cups more pronounced. When melting the chocolate, be cautious not to overheat it; melting until just smooth and glossy helps preserve the chocolate's structure and flavor.
Incorporating coconut oil into the chocolate is optional but highly recommended if you want a silkier texture. The oil helps create a smoother chocolate shell that crackles nicely when bitten into. If you don’t have coconut oil, you can substitute it with vegetable oil, though the flavor will slightly differ. Aim for a 1:8 ratio of oil to chocolate to achieve that desired consistency.
Perfecting the Filling
The maple filling not only serves to sweeten the peanut butter, but it also introduces a unique depth of flavor that sets your homemade cups apart from store-bought versions. Using pure maple syrup is essential here; avoid pancake syrups, which typically contain additives that will alter both flavor and texture. If you're looking to experiment, feel free to add powdered sugar to the filling for a firmer texture, or mix in crushed nuts for added crunch.
When mixing the filling, make sure to work the ingredients until completely smooth. An electric mixer can make this task easier, particularly if your peanut butter is on the thicker side. This ensures that every bite of your chocolate cups features a creamy, homogeneous filling, preventing any clumping that might detract from the overall experience.
Ingredients
Ingredients
For the Chocolate Shell
- 8 oz dark chocolate or semi-sweet chocolate chips
- 1 tbsp coconut oil (optional for smoothness)
For the Maple Filling
- 1 cup creamy peanut butter
- 1/4 cup pure maple syrup
- 1/2 tsp vanilla extract
- A pinch of salt
Instructions
Instructions
Instructions
Melt the Chocolate
In a microwave-safe bowl, combine the dark chocolate and coconut oil. Microwave in 30-second intervals, stirring after each, until fully melted and smooth.
Prepare the Molds
Line a muffin tin with paper liners or silicone molds. Spoon a small amount of melted chocolate into each mold, just enough to coat the bottom. Place in the freezer for 5 minutes to set.
Make the Filling
In a separate bowl, mix together the peanut butter, maple syrup, vanilla extract, and salt until smooth and creamy.
Assemble the Cups
Once the chocolate in the molds has hardened, remove from the freezer. Fill each mold with the peanut butter maple filling, then top with remaining melted chocolate to fully cover the filling.
Chill to Set
Return the filled molds to the freezer and let them chill for about 15 minutes, or until completely set.
Enjoy
Carefully remove the cups from the molds and enjoy your homemade peanut butter cups!
Pro Tips
- For an added twist, try mixing in chopped nuts or crushed pretzels into the peanut butter filling for some crunch.
Storage Tips
These homemade peanut butter cups can be stored in an airtight container for up to two weeks in the refrigerator, making them a great option for meal prep. You can also freeze them for longer storage; they keep well for up to three months. To freeze, layer them between sheets of parchment paper in a freezer-safe container, preventing them from sticking together. Allow them to thaw in the refrigerator before consuming, so you maintain that delightful texture.
For the best experience, consume your cups straight from the fridge or freezer. This enhances the contrast between the creamy filling and the firm chocolate shell, creating a satisfying crunch each time you take a bite.
Serving Suggestions
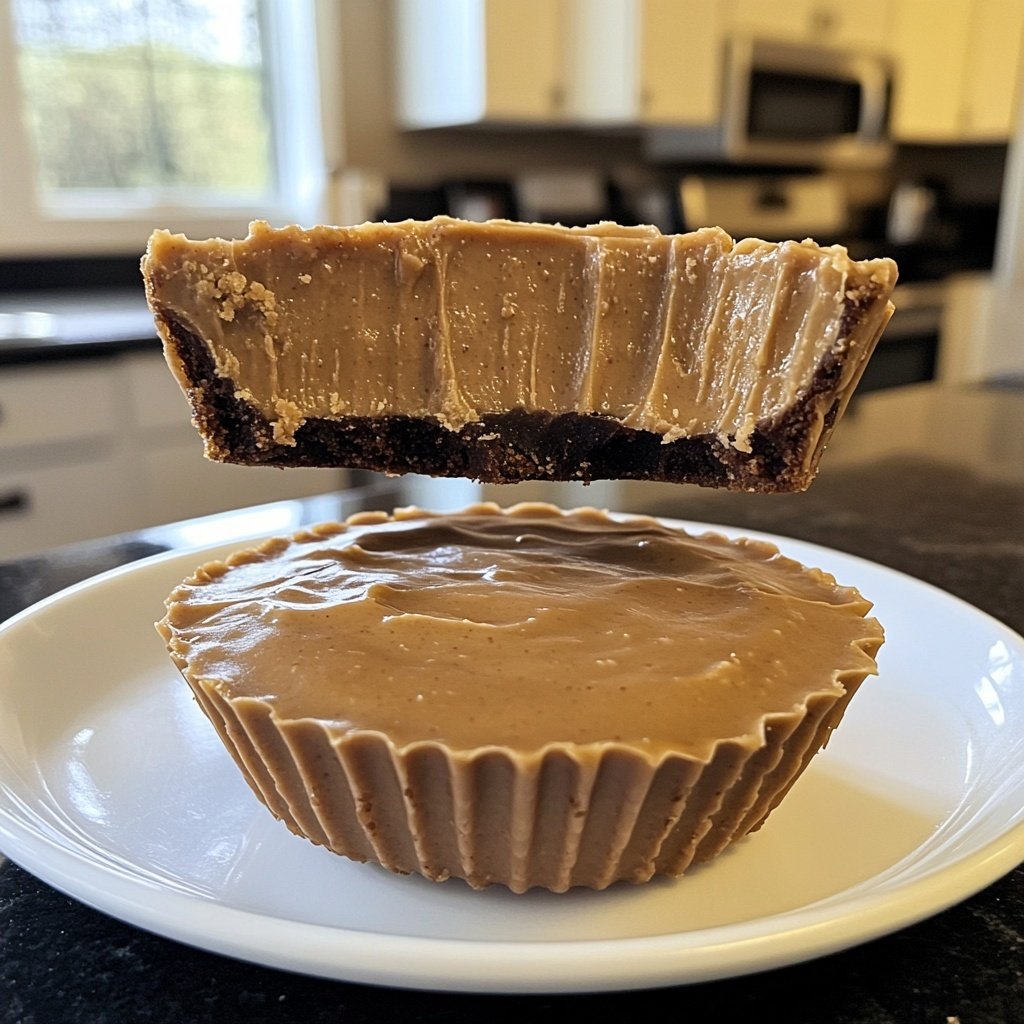
These cups are perfect as a stand-alone treat, but you can also elevate your serving game. Try pairing them with a dollop of whipped cream or a scoop of vanilla ice cream for an indulgent dessert. If you're hosting a gathering, consider cutting them in half to showcase the beautiful filling, making for a delightful display on a dessert platter.
For a festive twist, you can drizzle melted chocolate or caramel over the top before the chocolate shell sets. This adds a touch of elegance and extra sweetness, transforming your homemade cups into a gourmet dessert option that impresses.
Questions About Recipes
→ Can I use any type of chocolate?
Yes, you can use milk chocolate, dark chocolate, or even white chocolate based on your preference.
→ How do I store the peanut butter cups?
Store them in an airtight container in the refrigerator for up to a week or in the freezer for longer shelf life.
→ What can I substitute for peanut butter?
You can use almond butter or sunbutter as alternatives if you're allergic to peanuts.
→ Can I make these vegan?
Yes, use dairy-free chocolate chips and ensure your peanut butter is completely free from any animal products.
Homemade Peanut Butter Cups with Maple Filling
Created by: Prudence Whitby
Recipe Type: Easy Desserts Collection
Skill Level: Easy
Final Quantity: 12 cups
What You'll Need
For the Chocolate Shell
- 8 oz dark chocolate or semi-sweet chocolate chips
- 1 tbsp coconut oil (optional for smoothness)
For the Maple Filling
- 1 cup creamy peanut butter
- 1/4 cup pure maple syrup
- 1/2 tsp vanilla extract
- A pinch of salt
How-To Steps
In a microwave-safe bowl, combine the dark chocolate and coconut oil. Microwave in 30-second intervals, stirring after each, until fully melted and smooth.
Line a muffin tin with paper liners or silicone molds. Spoon a small amount of melted chocolate into each mold, just enough to coat the bottom. Place in the freezer for 5 minutes to set.
In a separate bowl, mix together the peanut butter, maple syrup, vanilla extract, and salt until smooth and creamy.
Once the chocolate in the molds has hardened, remove from the freezer. Fill each mold with the peanut butter maple filling, then top with remaining melted chocolate to fully cover the filling.
Return the filled molds to the freezer and let them chill for about 15 minutes, or until completely set.
Carefully remove the cups from the molds and enjoy your homemade peanut butter cups!
Extra Tips
- For an added twist, try mixing in chopped nuts or crushed pretzels into the peanut butter filling for some crunch.
Nutritional Breakdown (Per Serving)
- Calories: 250 kcal
- Total Fat: 19g
- Saturated Fat: 5g
- Cholesterol: 0mg
- Sodium: 95mg
- Total Carbohydrates: 18g
- Dietary Fiber: 2g
- Sugars: 10g
- Protein: 6g